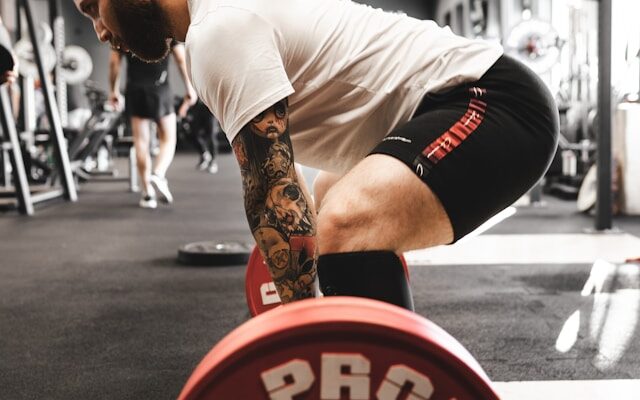
Are you ready to take your strength training routine to the next level? Look no further than the mighty deadlift! This compound exercise is an absolute powerhouse, targeting multiple muscle groups and providing incredible benefits for your body. But don’t just settle for average results – with the right technique, you can maximize your gains and prevent injuries. In this article, we’re going to give you eight game-changing tips to help you perfect your deadlift form. Whether you’re a beginner or a seasoned pro, get ready to lift heavier weights, reach new heights, and unleash your full potential!
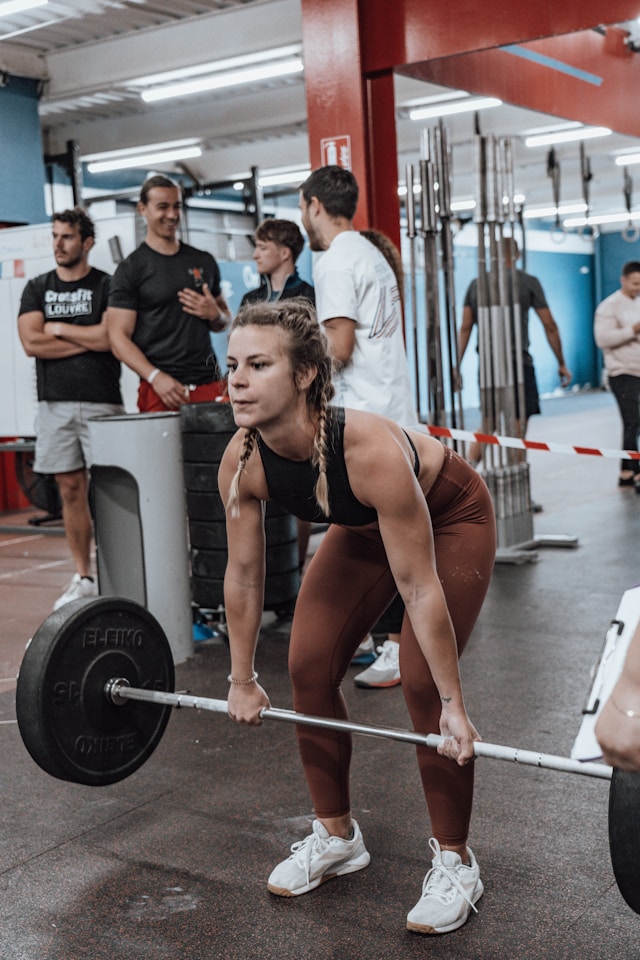
The deadlift is a pulling movement that is one of the “big three” strength movements, as well as
one of numerous complex lifts that include multiple muscle groups. It uses the hinge pattern, which is widespread in everyday life, to help increase functional strength and stability. Practicing and refining your deadlift form will not only help you lift more and advance toward your goals, but it can also minimize your risk of injury, enhance your daily functioning, and aid in rehabilitation (particularly lower back discomfort).
Because the deadlift demands numerous muscular groups and is often performed with big weights, many people struggle to progress. It is also possible to perform a deadlift incorrectly and injure yourself. Some people experience discomfort or strain while deadlifting and wish to understand how to correct any form errors that may be the cause.
Learning optimal form and improving strength in areas where you may be lacking will help you improve your deadlift technique. Breathe into your abdomen. Proper breathing and bracing can help protect your spine during a deadlift. Breathing laterally into your abdomen can assist you stay steady and prevent the spine from flexing or extending during the most susceptible point in the deadlift motion, which is when you first lift the bar off the floor. Imagine your core as a sealed soda can that is difficult to crush due to its high pressure.
This is how to breathe into your abdomen
1. Breathe deeply into your abdomen and push your sides out laterally. You can practice this by placing your hands at your sides and moving them outwards.
2. From a standing position, tighten your core muscles and drop into a deadlift stance, driving your feet into the floor.
Take the Slack Out of the Barbell
One overlooked strategy for doing a deadlift is to properly set up from the start. Weight plates placed on the barbell while sitting on the ground will have a tiny gap between the bar and the top of the hole in the plate. Before you draw the barbell, remove the slack by connecting it to the plate at the top of the hole. This puts you in a better posture and prevents you from being forced out of position when the barbell rises to connect with the plates. Removing the slack allows you to keep the bar close to your body because it is in a firm position from the start, creating physical tension that keeps you steady and ready to support hefty weight.
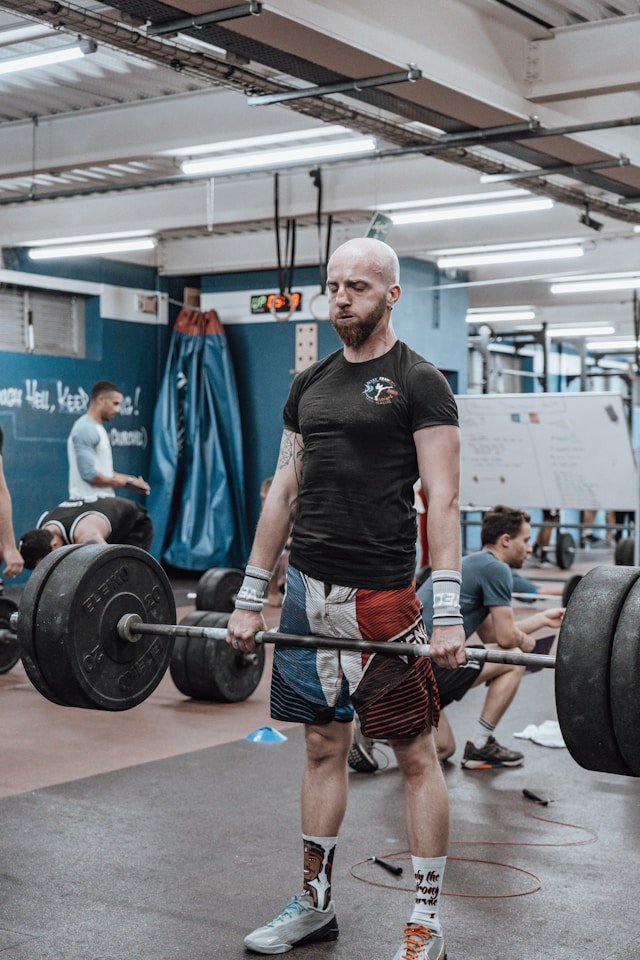
Here’s how to remove the slack from the barbell:
1. Stand with the barbell in front of you.
2. Roll the barbell towards you, almost touching your shins.
3. Use an overhand or mixed grip (one hand over, one under).
4. Lower your hips and engage your glutes and hamstrings while pointing at the floor.
5. Raise your upper body, keeping your chest high.
6. Lift the barbell to remove any slack and connect the plates.
Engage your lats
Engaging your latissimus dorsi (lats) before starting the lift will help you improve your deadlift technique. The lats are not primary movers in the deadlift, but they do serve to lessen the spinal and hip extension demands of the movement.
Engaging the lats allows you to pull your shoulders and hips slightly forward, bringing your shoulder joint closer to your hips. These moves result in a tighter center of mass and smaller movements, making lifting the weight simpler. All that being said, engaging your lats can help you lift more weight with less effort.
Here’s how to work your lats
1. Remove the slack from the barbell, as instructed previously.
To engage your lats, contract the muscles around your shoulder blades and upper spine. Pretend you’re attempting to split the bar in half.
3. Pull your shoulder blades down and back, as though you’re trying to slide them into your back pockets.
4. Engage your lats by locking your elbows and making your armpits “disappear”.
5. Position your armpits above the bar, not beyond it.
Before you deadlift, perform some lat isolation exercises to help you learn to engage your lats. Learning to connect to and feel your lats is a skill that requires practice.
Screw Your Feet into the Floor.
Properly attaching your lower body to the floor can enhance your deadlift technique and lessen your risk of injury. If you have lower back strain during or after deadlifting, this tip is especially effective. Turning your femurs outward in your hip sockets and “screwing” your feet into the floor will assist engage your glutes and keep your thighs and knees in alignment, preventing your lower back from moving and taking on too much effort.

Here’s how you screw your feet to the floor
1. Turn your hips slightly outward and rotate your femurs in the hip socket to work your glutes and outside thighs.
2. To produce tension, imagine spreading your feet apart on the floor.
3. Maintain tension throughout the deadlift progression.
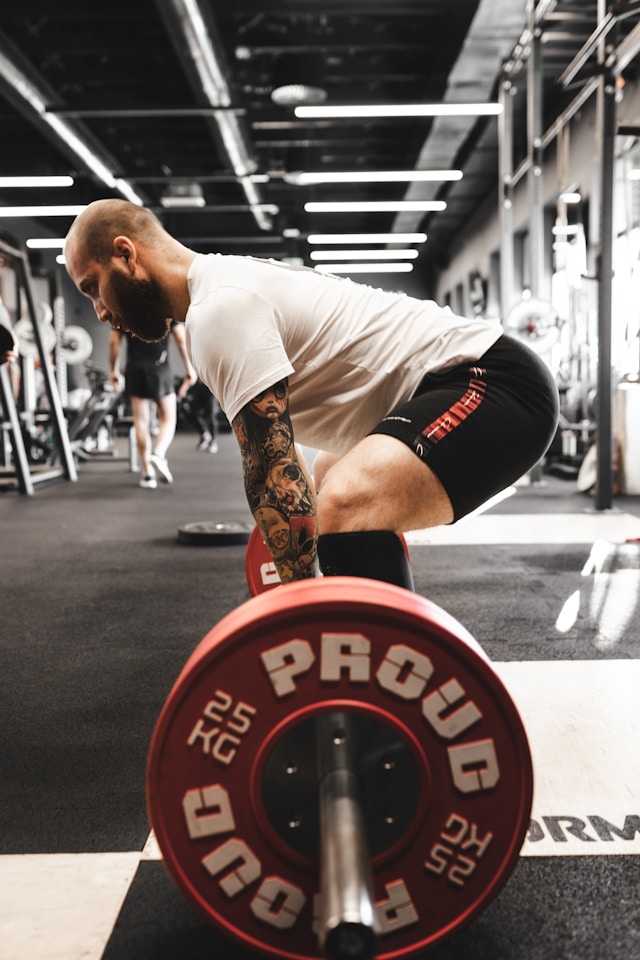
Push your hips back
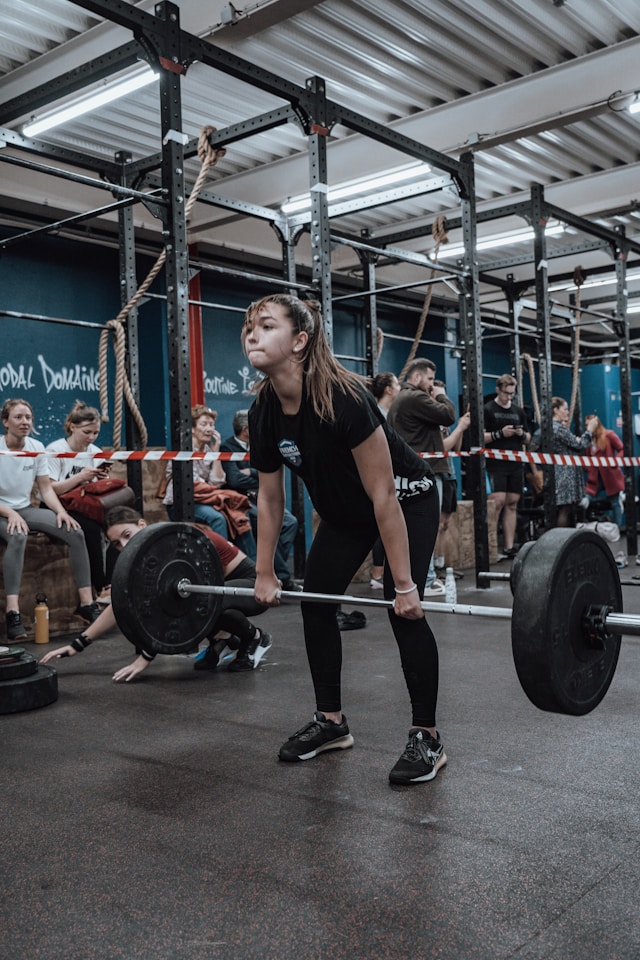
One common mistake people make at this point is allowing their hips to rise before moving the barbell and then pulling the weight with their lower back. By pulling the slack out of the bar and activating your lats, you should be in the optimal position to begin lifting the bar off the ground while also raising your hips. To enhance your deadlift technique and raise the weight with more power, maintain your hips close to the bar.
Follow these steps to push your hips back
1. Sit comfortably by pushing your hips back and down. You should feel as if you will fall if you release go of the bar.
2. Align the bar with your shins as near to your body as feasible.
3. Contract your glutes by extending your hips at the peak.
4. To protect your lower back, push your hips back and hinge while lowering the bar.
5. When lowering the barbell, keep your hips high, chest up, and knees slightly bent.
6. Keep the bar close to your body when descending.
Changing your tempo can be as simple as raising swiftly and descending slowly, or vice versa, pausing at the top and bottom. In contrast, you can employ a touch-and-go tempo, which involves tapping the bar on the floor before executing another rep. When experimenting with pace variations, use a lighter weight than usual.
Incorporate supporting accessory exercises
Appropriate accessory movements can help break that barrier for a new deadlift PR (personal record) and also helps develop resiliency and injury prevention in the body.
Isolating specific muscle groups can provide an overall boost to deadlifting. To improve your deadlift technique, make sure your entire program focuses on developing strength and stability in the parts of the body that require it. This involves the glutes, hamstrings, back, and grip strength.
Enjoy the Process With Intent
Deadlifts are a fundamental strength training exercise that can improve your performance, lower the chance of injury (particularly to your back), and rehabilitate your back if it has been injured. Learning how to improve your technique can allow you to lift greater loads while being safe.
Following the tactics outlined above can help you achieve your goals more quickly, but seeking advice from a personal trainer or strength coach is also advisable if you are unsure how to proceed or require one-on-one assistance. For the best outcomes, remember to eat well, remain hydrated, and take breaks when necessary.
Closing Thoughts for One Motion Forward:
Adding these strategies to your deadlift program will greatly improve your performance and overall strength. Remember, excellent technique is essential for avoiding injuries and maximizing outcomes. You may maximize the benefits of deadlifts and meet your fitness goals by focusing on technique, gradually increasing weight, and ensuring proper recuperation.
Step into Your Stride: Accept the Journey with One Motion Forward!
